Appearance
Spring Security OAuth2 - 10 前后端分离案例
本文主要介绍如何在Spring Security中使用OAuth 2.0进行登录之前后端分离,是Spring Security系列第十篇文章,前九篇文章如下:
- Spring Security - 1 初认识
- Spring Security - 2 身份验证(Authentication)
- Spring Security - 3 身份验证之数据库
- Spring Security - 4 JWT
- Spring Security - 5 使用JWT登录
- Spring Security - 6 权限校验介绍
- Spring Security - 7 RBAC模型
- Spring Security - 8 解决跨域问题
- Spring Security OAuth2 - 9 入门案例与流程详解
1. 前端界面
前端项目运行在http://127.0.0.1:5500/oauth地址(使用VS Code中的Live Sever插件),前端界面分为三个:
- 主页:显示当前用户信息(存在localStorage中),如果没有用户信息,则三秒后跳转到登录界面;
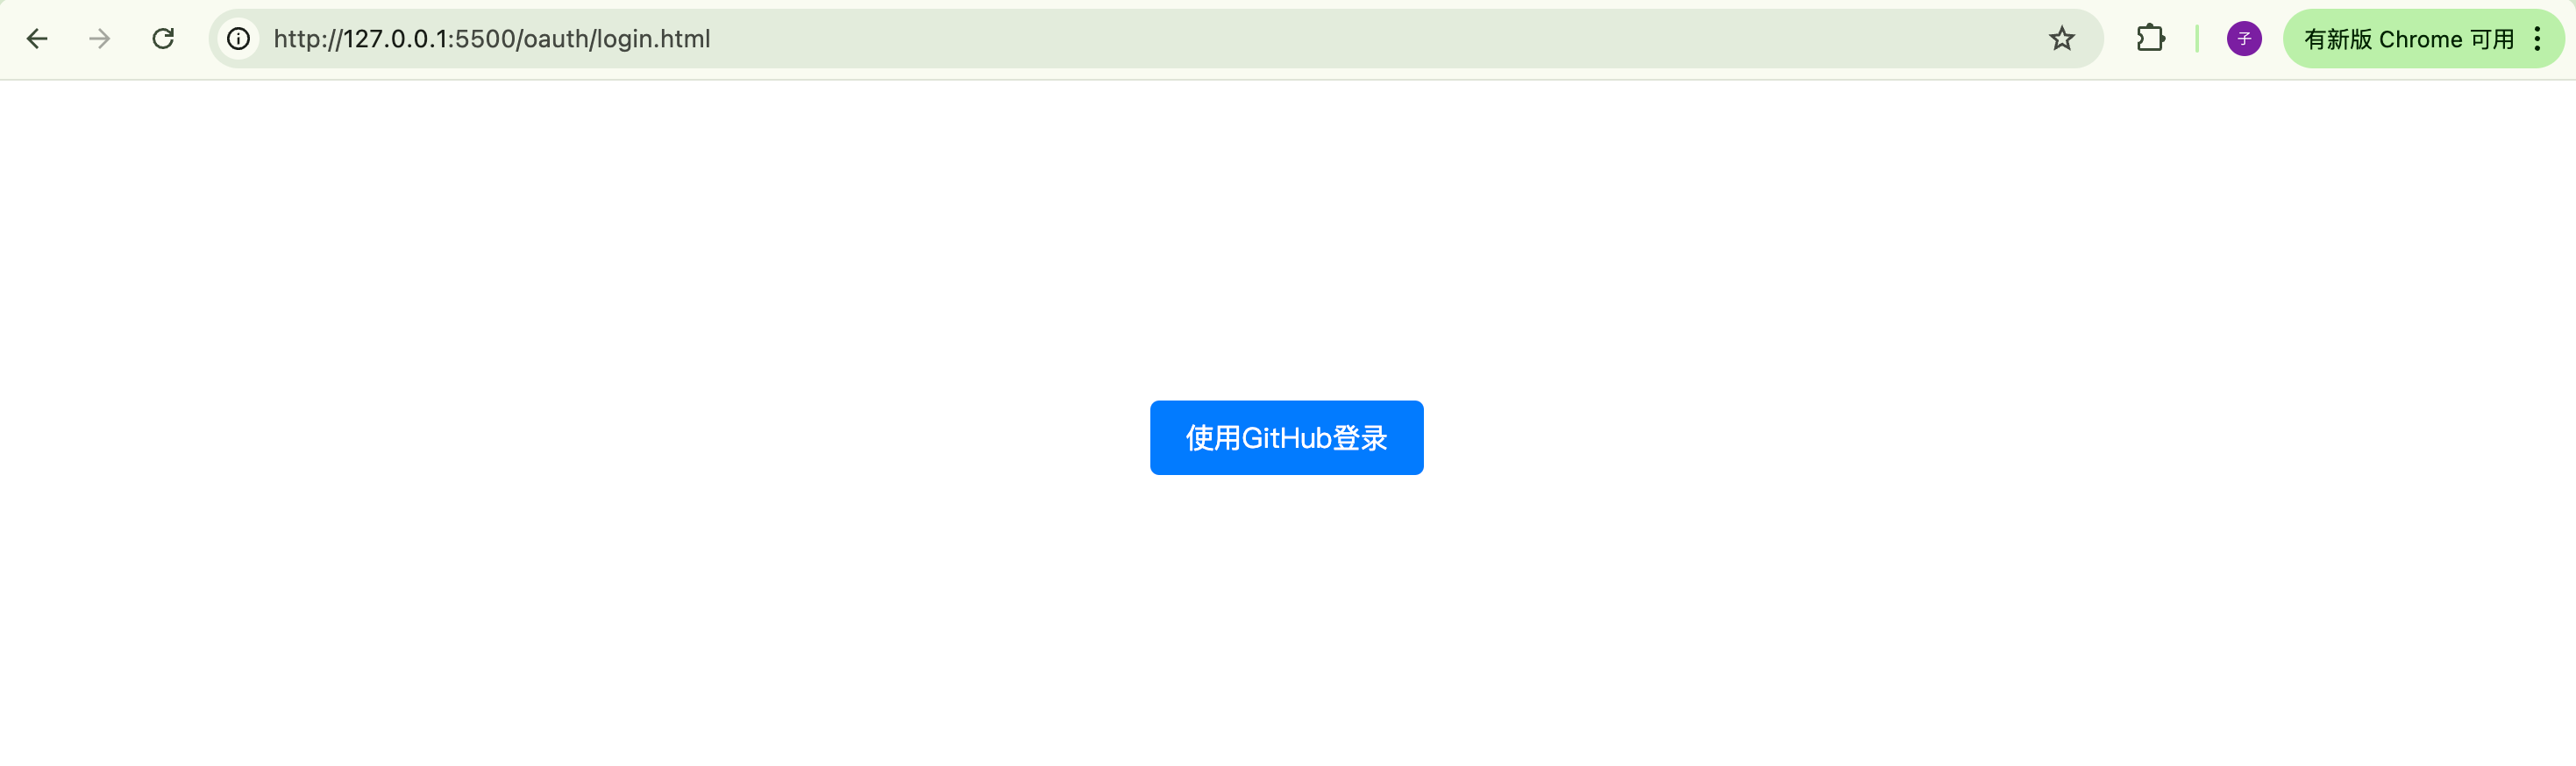
- 登录界面:显示一个按钮,请求使用GitHub登录,请求路径为:http://127.0.0.1:8080/oauth2/authorization/github;
- 回调界面:当用户同意授权后,授权服务器回调该地址,并带上code和state;该页面脚本从路径中获取code和state,并请求客户端服务后台地址,路径为:http://127.0.0.1:8080/login/oauth2/code/github,当登录成功后,后台返回用户信息,存在localStorage中并跳转到主页;
1.1 主页-main.html
html
<!DOCTYPE html>
<html lang="en">
<head>
<meta charset="UTF-8">
<meta name="viewport" content="width=device-width, initial-scale=1.0">
<title>主页</title>
</head>
<body>
<h1>主页</h1>
<div id="user"></div>
<script>
let userString = localStorage.getItem('user');
if (userString) {
// 用户已登录,显示用户信息
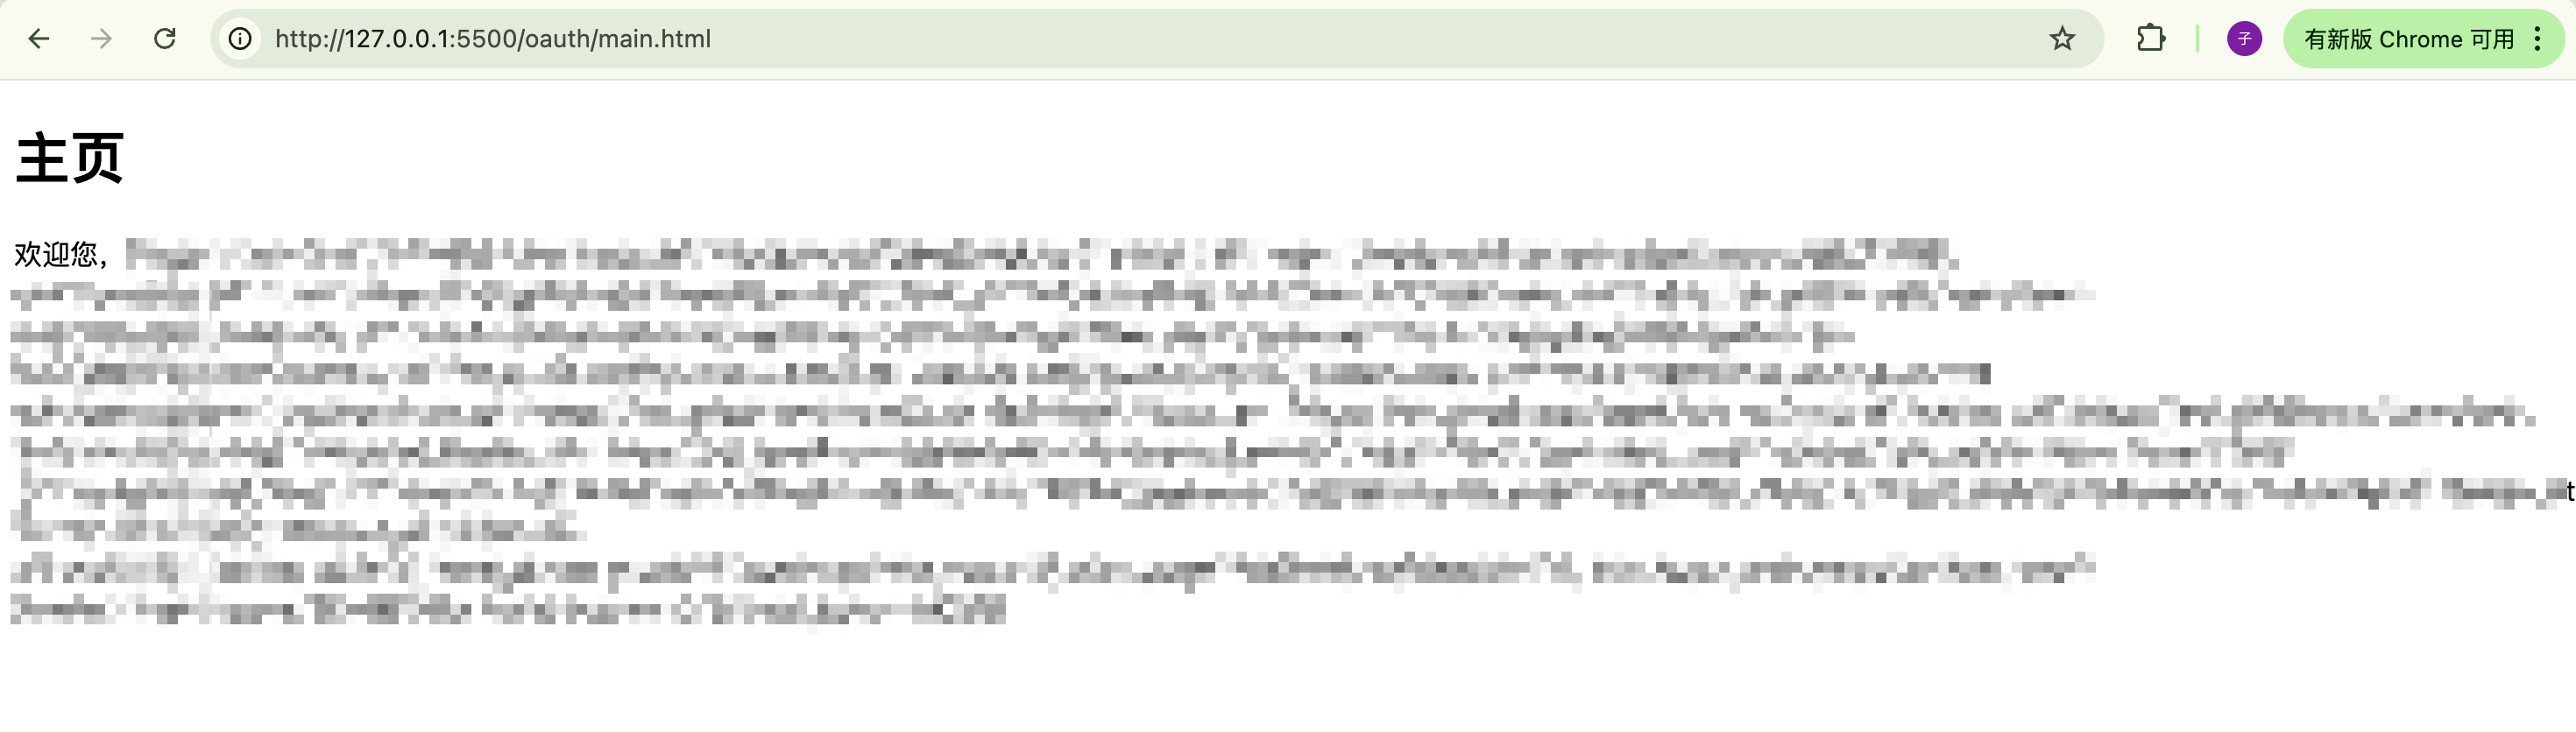
document.getElementById('user').innerHTML = `欢迎您,${userString}`;
} else {
// 用户没登录,跳转到登录页
// 为了效果明显,显示文字后跳转到登录界面
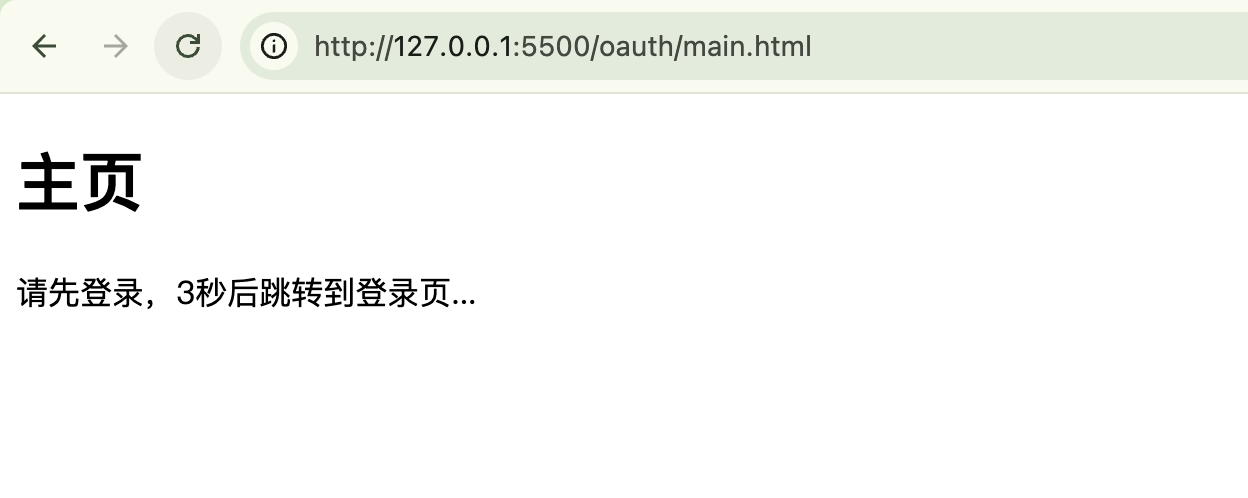
document.getElementById('user').innerHTML = '请先登录,3秒后跳转到登录页...';
setTimeout(() => {
window.location.href = '/oauth/login.html'
}, 3000);
}
</script>
</body>
</html>1.2 登录界面-login.html
html
<!DOCTYPE html>
<html lang="en">

<head>
    <meta charset="UTF-8">
    <meta name="viewport" content="width=device-width, initial-scale=1.0">
    <title>登录</title>

    <style>
        body {
            display: flex;
            justify-content: center;
            align-items: center;
            height: 100vh;
            margin: 0;
        }

        a {
            padding: 10px 20px;
            background-color: #007bff;
            color: white;
            text-decoration: none;
            border-radius: 5px;
        }
    </style>
</head>

<body>
    <div>
        <a href='http://127.0.0.1:8080/oauth2/authorization/github'>使用GitHub登录</a>
    </div>
</body>

</html>1.3 回调界面-callback.html
java
<!DOCTYPE html>
<html lang="en">

<head>
    <meta charset="UTF-8">
    <meta name="viewport" content="width=device-width, initial-scale=1.0">
    <title>跳转中...</title>
</head>

<body>
    <h1>跳转中...</h1>

    <script>
        // 从URL中提取code参数
        const urlParams = new URLSearchParams(window.location.search);
        const code = urlParams.get('code');
        const state = urlParams.get('state');

        // 发送POST请求到后台服务器
        if (code) {
            try {

                let url = 'http://127.0.0.1:8080/login/oauth2/code/github?' +
                    'code=' + encodeURIComponent(code) +
                    '&state=' + encodeURIComponent(state);
                fetch(url, {
                    method: 'GET',
                    headers: {
                        'Content-Type': 'application/json;charset=UTF-8',
                    }
                })
                    .then(response => {
                        return response.json();
                    })
                    .then(data => {
                        // 登录成功,保存用户信息, 跳转到主页
                        localStorage.setItem('user', JSON.stringify(data));
                        window.location.href = '/oauth/main.html';
                    })
                    .catch(error => console.error('Error:', error));
            } catch (error) {
                console.error('Error:', error);
            }

        }
        else {
            console.error('No code found in URL');
        }
    </script>
</body>

</html>2. Github设置调整
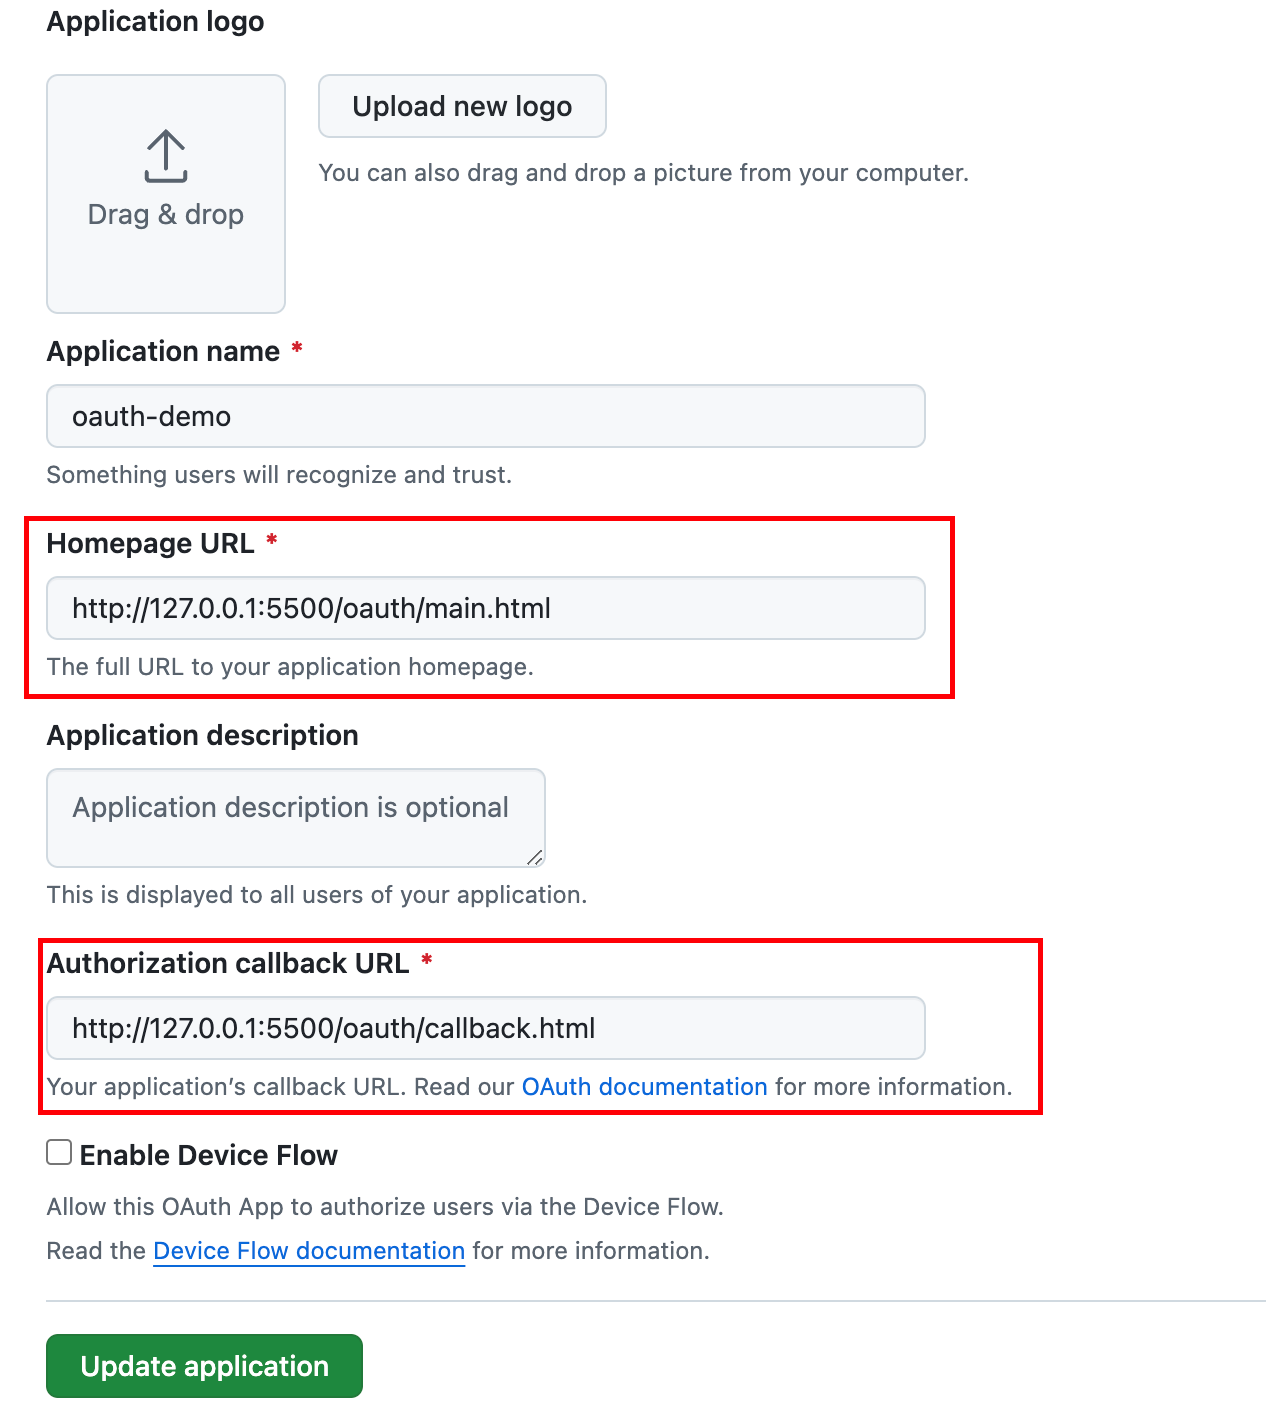
由于我们更改了回调地址,所以需要在GitHub的OAuth设置中调整:
3. 后台服务调整
由于更改了Spring Security OAuth默认的回调地址,所以需要在配置文件中指明更改后的回调地址:
properties
spring.security.oauth2.client.registration.github.redirect-uri=http://127.0.0.1:5500/oauth/callback.html然后登录成功后,需要向前端返回Json,需要我们实现AuthenticationSuccessHandler接口:
java
@Component
public class OAuth2SuccessAuthenticationHandler implements AuthenticationSuccessHandler {

    @Resource
    private ObjectMapper objectMapper;

    @Override
    public void onAuthenticationSuccess(HttpServletRequest request,
                                        HttpServletResponse response,
                                        Authentication authentication) throws IOException, ServletException {

        // 在这里将authentication强转为OAuth2AuthenticationToken,是因为OAuth2LoginAuthenticationFilter返回的
        OAuth2AuthenticationToken oAuth2AuthenticationToken = (OAuth2AuthenticationToken) authentication;
        Map<String, Object> attributes = oAuth2AuthenticationToken.getPrincipal().getAttributes();

        response.setStatus(HttpServletResponse.SC_OK);

        response.setContentType("application/json;charset=UTF-8");

        // 此处应该返回jwt,此处直接返回所有的个人信息,仅做测试
        response.getWriter().write(objectMapper.writeValueAsString(attributes));
        response.getWriter().flush();
        response.getWriter().close();

    }
}然后在配置类中添加OAuth登录成功处理器以及跨域处理:
java
@Configuration
@EnableWebSecurity
public class SecurityConfig {

    @Resource
    private OAuth2SuccessAuthenticationHandler oAuth2SuccessAuthenticationHandler;

    @Bean
    public SecurityFilterChain securityFilterChain(HttpSecurity http) throws Exception {
        DefaultSecurityFilterChain build = http
                .cors(Customizer.withDefaults())
                .oauth2Login(x -> x.successHandler(oAuth2SuccessAuthenticationHandler))
                .formLogin(x->x.disable())
                .authorizeHttpRequests(x -> x.anyRequest().authenticated())
                .sessionManagement(x -> x.sessionCreationPolicy(SessionCreationPolicy.STATELESS))
                .build();

        return build;
    }

    @Bean
    CorsConfigurationSource corsConfigurationSource() {
        CorsConfiguration configuration = new CorsConfiguration();
        configuration.setAllowedOrigins(Arrays.asList("http://127.0.0.1:5500")); // 允许的来源
        configuration.setAllowedMethods(Arrays.asList("GET","POST", "PUT", "DELETE")); // 允许的 HTTP 方法
        configuration.setAllowedHeaders(Arrays.asList("Content-Type", "Authorization")); // 允许的请求头
        configuration.setAllowCredentials(true); // 允许发送 Cookie
        UrlBasedCorsConfigurationSource source = new UrlBasedCorsConfigurationSource();
        source.registerCorsConfiguration("/**", configuration); // 所有路径都应用此配置
        return source;
    }
}第15行:由于是前后端分离项目,所以我们不需要创建SESSION。
但是,Spring Security OAuth Client中默认使用Session保存 OAuth2AuthorizationRequest,所以会导致回调接口因为找不到OAuth2AuthorizationRequest报错,我们需要自己实现保存OAuth2AuthorizationRequest的逻辑:
java
public class InMemoryOAuth2AuthorizationRequestRepo
        implements AuthorizationRequestRepository<OAuth2AuthorizationRequest> {

    private Map<String, OAuth2AuthorizationRequest> authorizationRequestMap;

    public InMemoryOAuth2AuthorizationRequestRepo() {
        authorizationRequestMap = new HashMap<>();
    }

    @Override
    public OAuth2AuthorizationRequest loadAuthorizationRequest(HttpServletRequest request) {
        String state = getStateParameter(request);
        if (state == null) {
            return null;
        }

        return authorizationRequestMap.getOrDefault(state, null);
    }

    @Override
    public void saveAuthorizationRequest(OAuth2AuthorizationRequest authorizationRequest,
                                         HttpServletRequest request,
                                         HttpServletResponse response) {
        String state = authorizationRequest.getState();

        if (state == null) {
            return ;
        }

        authorizationRequestMap.put(state, authorizationRequest);
    }

    @Override
    public OAuth2AuthorizationRequest removeAuthorizationRequest(HttpServletRequest request,
                                                                 HttpServletResponse response) {
        String state = getStateParameter(request);
        if (state == null) {
            return null;
        }

        return authorizationRequestMap.remove(state);
    }

    private String getStateParameter(HttpServletRequest request) {
        return request.getParameter(OAuth2ParameterNames.STATE);
    }
}然后在配置类中使用我们的InMemoryOAuth2AuthorizationRequestRepo:
java
@Bean
public SecurityFilterChain securityFilterChain(HttpSecurity http) throws Exception {
    DefaultSecurityFilterChain build = http
            .cors(Customizer.withDefaults())
            .oauth2Login(x -> x.successHandler(oAuth2SuccessAuthenticationHandler))
            .formLogin(x->x.disable())
            .authorizeHttpRequests(x -> x.anyRequest().authenticated())
            .sessionManagement(x -> x.sessionCreationPolicy(SessionCreationPolicy.STATELESS))
            .build();


    List<Filter> filters = build.getFilters();
    InMemoryOAuth2AuthorizationRequestRepo inMemoryOAuth2AuthorizationRequestRepo = new InMemoryOAuth2AuthorizationRequestRepo();
    for (Filter filter : filters) {
        if(filter instanceof OAuth2LoginAuthenticationFilter) {
            ((OAuth2LoginAuthenticationFilter) filter).setAuthorizationRequestRepository(inMemoryOAuth2AuthorizationRequestRepo);
        }
        if(filter instanceof OAuth2AuthorizationRequestRedirectFilter){
            ((OAuth2AuthorizationRequestRedirectFilter) filter).setAuthorizationRequestRepository(inMemoryOAuth2AuthorizationRequestRepo);
        }
    }

    return build;
}4. 测试效果
首先访问主页,由于没有登录,会自动跳转到登录界面:
然后在登录界面点击按钮:
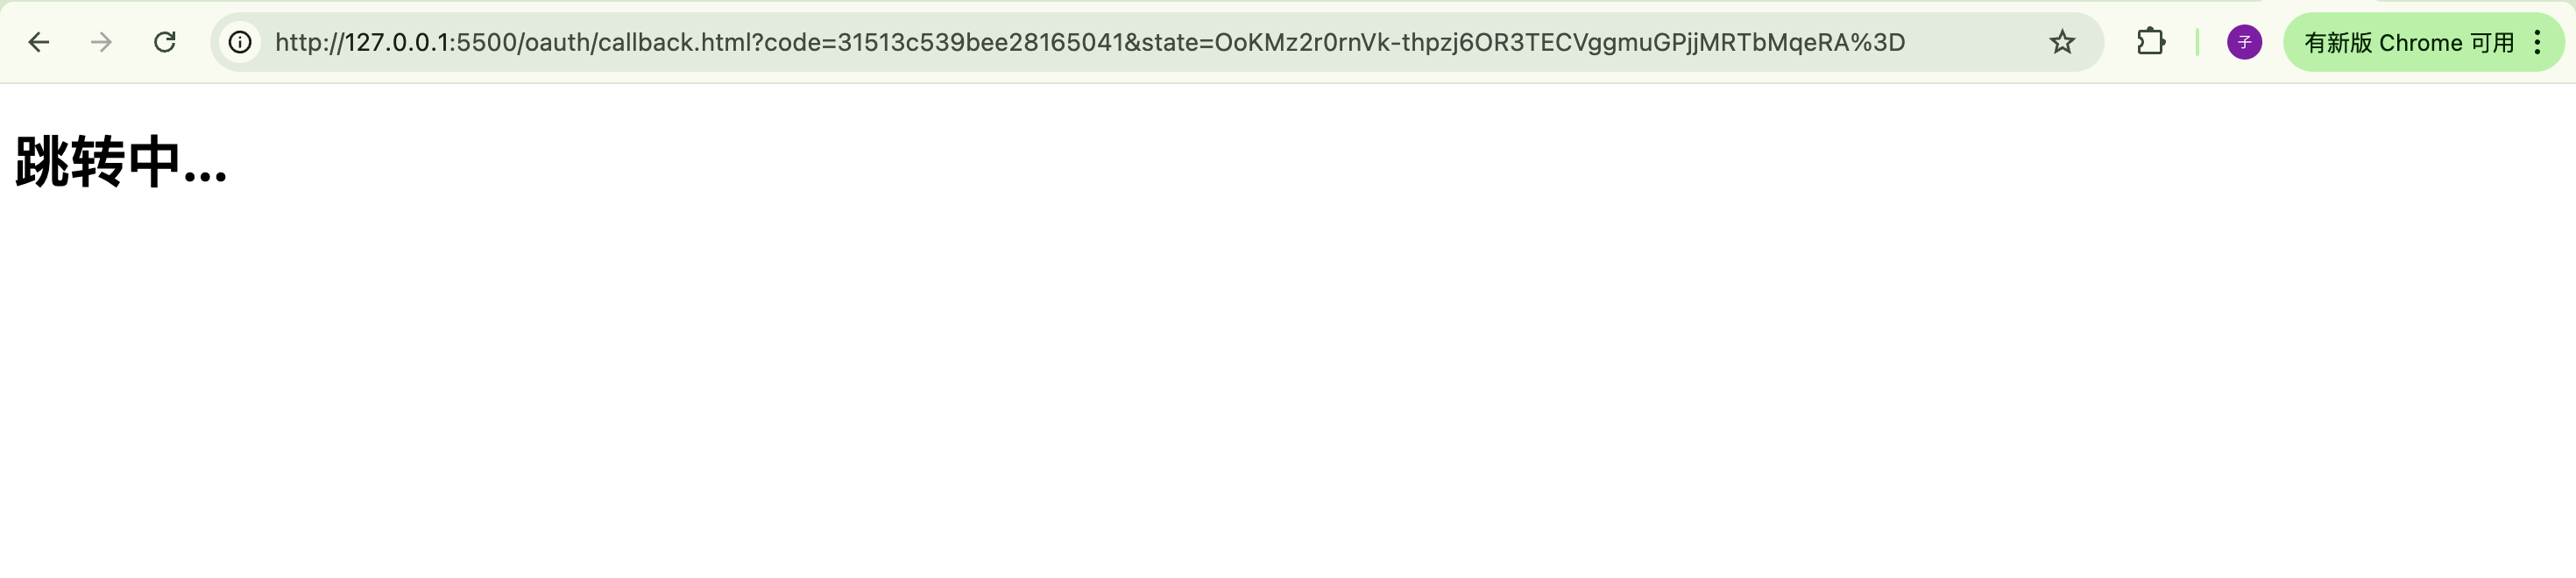
在回调界面显示跳转中:
跳转回主页,已经有GitHub人员信息了: